Admin: Email & Branding Settings
Configure how PracticalCRM sends emails and customize its appearance with your logo.
Administrator Role Required: Only administrators can modify these settings.
Email Server Settings (SMTP Relay)
These settings are crucial for PracticalCRM to send emails reliably (e.g., password resets, calendar invites, campaign emails). You need details from your email provider or a dedicated email relay service (like Mailjet, SendGrid, Amazon SES, etc.).
- On the Admin Dashboard, click the "Email Server Settings" () button.
- A modal window will appear.
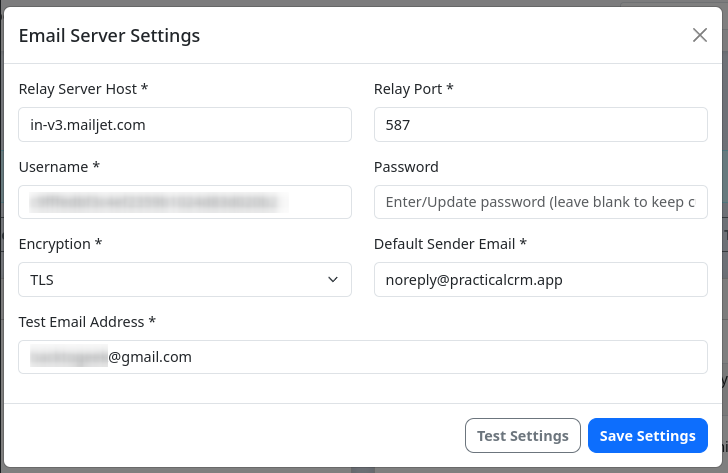
- Fill in the following details:
- Relay Server Host: The SMTP hostname provided by your email service (e.g., `in-v3.mailjet.com`, `smtp.gmail.com`).
- Relay Port: The SMTP port number (Common ports: 587 for TLS, 465 for SSL, 25 for None - check your provider's documentation).
- Username: Your SMTP username (often your API Key for services like Mailjet/SendGrid, or your full email address for Gmail/Outlook).
- Password: Your SMTP password (often your API Secret for services like Mailjet/SendGrid, or an App Password for Gmail/Outlook if 2FA is enabled on that account). Leave blank *only* if updating other fields and you want to keep the currently saved password.
- Encryption: Select the encryption method required by your provider (None, TLS, or SSL). TLS on port 587 is common.
- Default Sender Email: The email address emails from the CRM will appear to come from by default (e.g., `[email protected]`).
- Test Email Address: An email address where test messages can be sent to verify the settings.
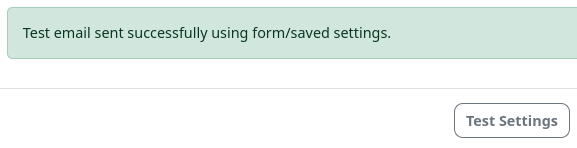
- Test Settings: Before saving, enter your **Test Email Address** and click "Test Settings". This will attempt to send a test email using the details entered in the form (or the currently saved password if the password field was left blank). Check the feedback area in the modal for success or failure messages.
- Save Settings: Once tested successfully (or if you're confident), click "Save Settings".
Branding Logo
Upload your company logo to personalize the CRM interface header.
![]()
- On the Admin Dashboard, locate the "Branding Logo" card.
- Upload: Click "Choose File", select your logo image (JPG, PNG, GIF, SVG - Max 5MB), and click "Upload". The new logo will replace any existing one and appear in the preview area and the main navigation bar.
- Delete: If a logo is already uploaded, a preview and a delete button () will be visible. Click the delete button and confirm to remove the logo.