Admin: User Management
Manage user accounts, roles, and access for your PracticalCRM instance.
Administrator Role Required: Only users with the 'Administrator' role can access these functions.
Viewing Users
Navigate to the Admin Dashboard ( Admin link in the main navigation).
The "User Management" card displays a table of all users in the system.
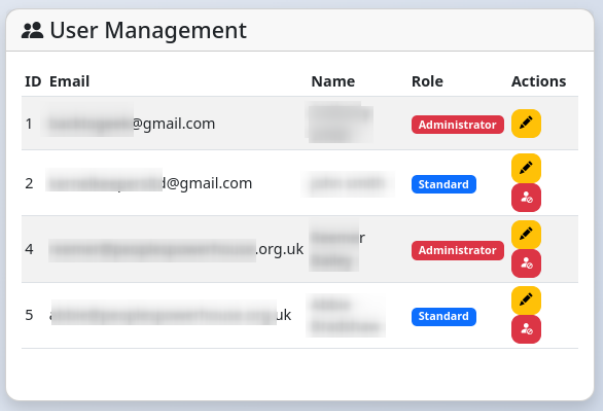
- The table shows User ID, Email, Name, and assigned Role.
- Roles determine system permissions:
- Administrator: Full access to all features and settings.
- Standard: Access to core CRM, project, productivity features; cannot access Admin section.
- Read-Only: Can view most data but cannot create, edit, or delete records.
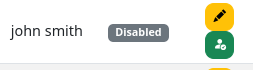
- Disabled: Account is inactive and cannot log in.
- Action buttons allow admins to Edit, Disable, or Enable users.
Adding a New User
- On the Admin Dashboard, click the "Add New User" button ().
- A modal window will appear.
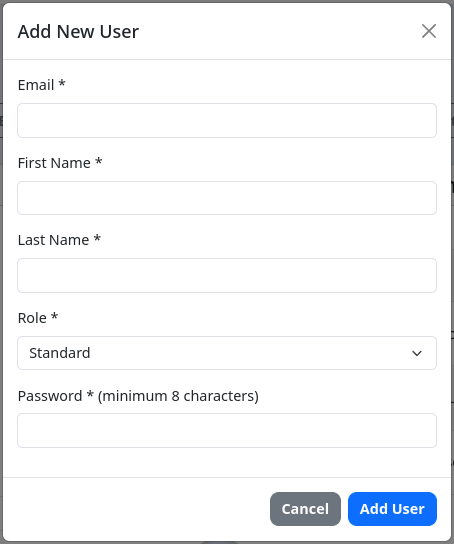
- Enter the user's Email, First Name, and Last Name (all required).
- Select the user's Role (Administrator, Standard, Read-Only).
- Enter a secure initial Password (minimum 8 characters, required). The user should be encouraged to change this upon first login.
- Click "Add User".
The new user account is created immediately. They do not need email activation but should be informed of their login details.
Editing a User
- On the Admin Dashboard user list, click the "Edit" icon () next to the user you want to modify.
- The page will reload, displaying an "Edit User" form below the user list.
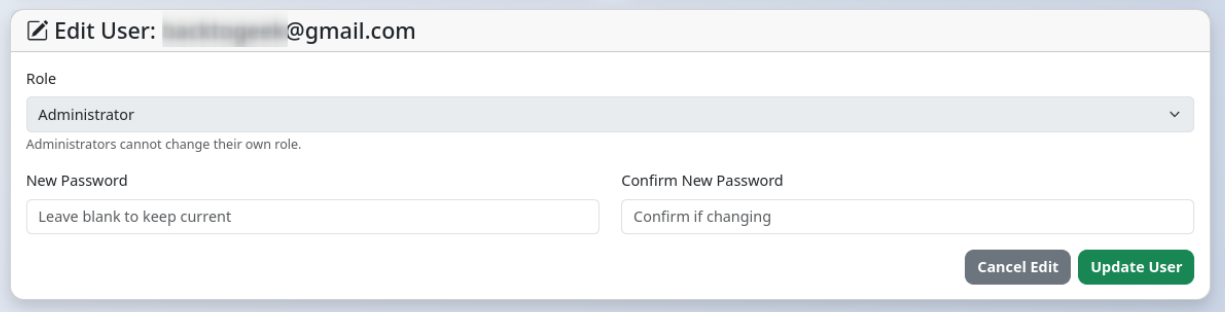
- You can change the user's Role. Note: Administrators cannot change their own role.
- You can set a New Password for the user by entering it in both password fields. Leave these blank to keep their current password unchanged.
- If a user is locked out due to losing their 2FA device, you can check the Disable 2FA for this user box (only appears for users other than yourself). This will turn off their 2FA, allowing them to log in with just their password and set up 2FA again if needed.
- Click "Update User".
Disabling / Enabling Users
Instead of deleting users (which could orphan data), you can disable their accounts.
- Disable: Click the "Disable User" icon () next to a user (Standard or Read-Only roles only). Confirm the action. The user's role will change to 'Disabled', and they will no longer be able to log in. You cannot disable other administrators or yourself.
- Enable: Click the "Enable User" icon () next to a user with the 'Disabled' role. Confirm the action. Their role will typically revert to 'Standard', allowing them to log in again.