Admin: Email Templates
Create and manage reusable HTML templates for various system emails, like calendar invites and bulk campaigns.
Administrator Role Required: Only administrators can manage email templates.
Viewing Templates
Navigate to the Admin Dashboard and click the "Email Templates" () button.
This page displays all saved email templates as cards.
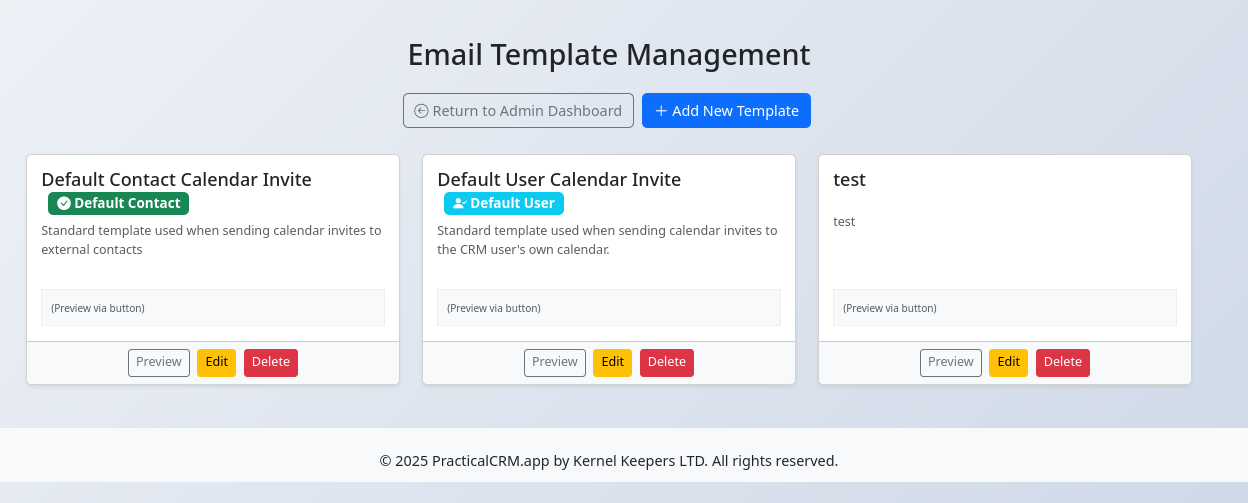
- Each card shows the template name and description.
- Badges indicate if a template is set as the default for "Contact Invites" or "User Invites" (calendar invites sent to your own calendar).
- Preview: Click the "Preview" button to see how the template looks with sample data in a modal window.
- Edit: Click the "Edit" button to modify the template.
- Delete: Click the "Delete" button to permanently remove the template (cannot delete default templates).
Creating or Editing a Template
- Click "Add New Template" on the main template list page, or "Edit" on an existing template card.
- You will be taken to the template editor form.
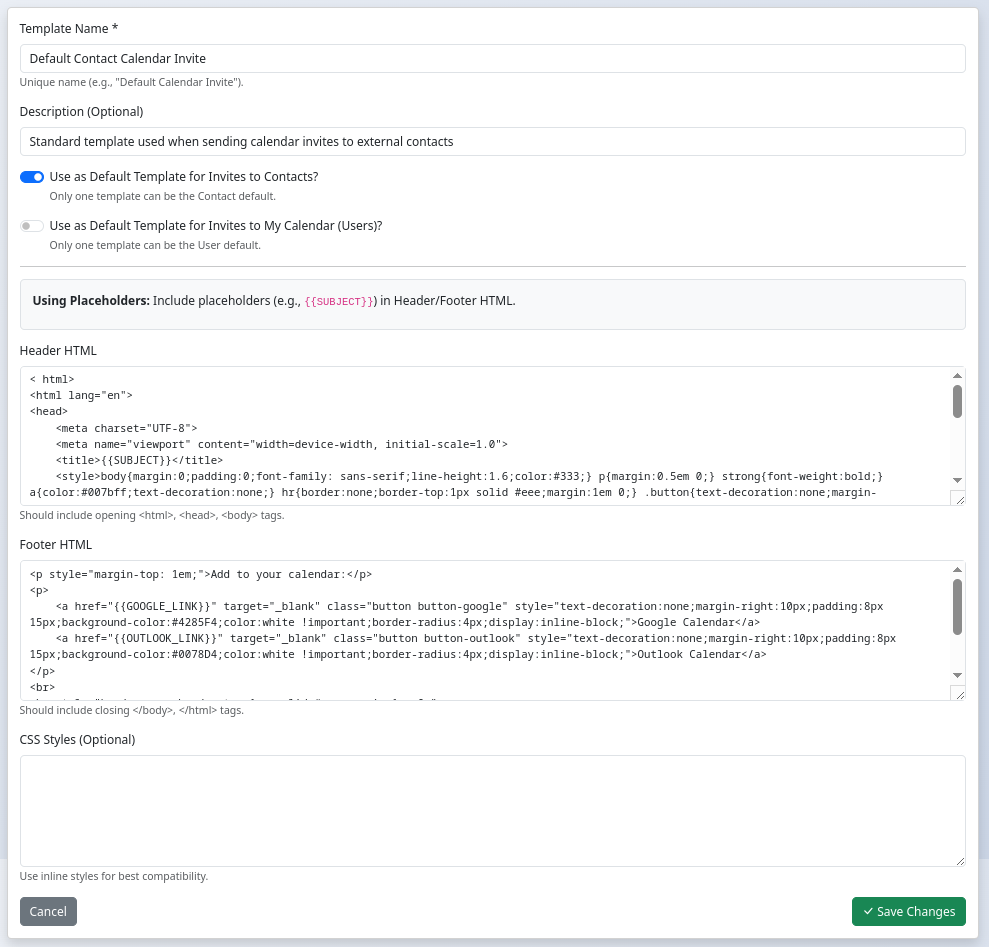
- Template Name: A required, unique name for identification (e.g., "Standard Meeting Invite").
- Description: An optional short description of the template's purpose.
- Default Template Options: Check the boxes if this template should be the default used when sending calendar invites to contacts or to your own user calendar (from Interactions). Only one template can be the default for each type.
- Placeholders: Review the list of available placeholders (like `{{SUBJECT}}`, `{{CONTACT_FIRST_NAME}}`, `{{LOGO_HTML}}`, `{{UNSUBSCRIBE_LINK}}` etc.). You can insert these into your Header and Footer HTML where you want dynamic content to appear.
- Header HTML: Enter the HTML code for the beginning of your email, typically including ``, ``, `