Project Management Overview
Organise your work, track progress, and collaborate with your team using PracticalCRM's integrated project tools.
Accessing Projects
Click on "Projects" () in the main navigation bar.
This page displays a list of all projects you have access to (either as the owner or a member). Administrators can see all projects in the system.
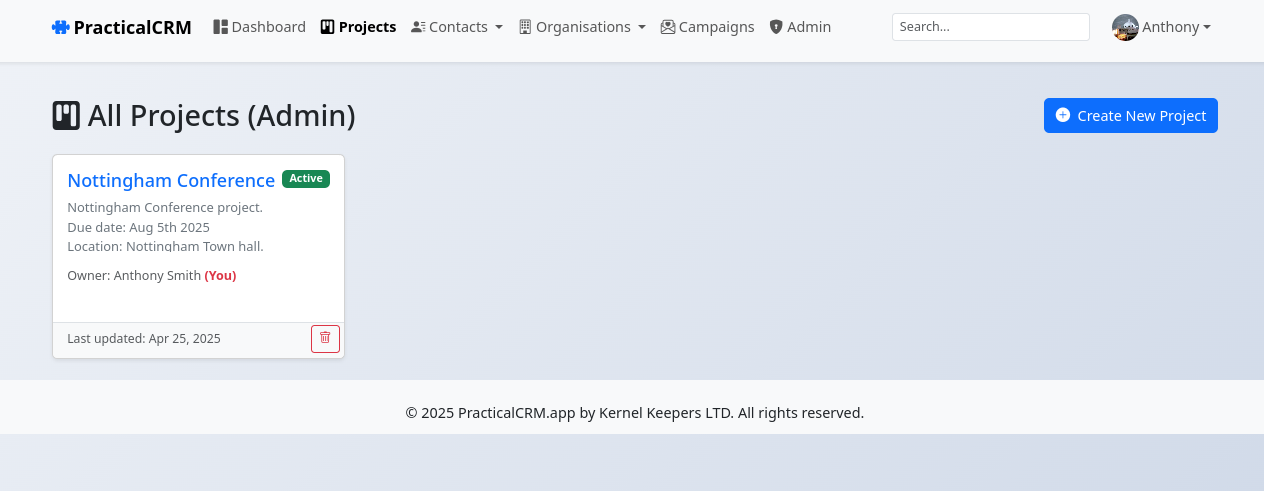
Each project card shows the project name, status, description snippet, your role (if applicable), and when it was last updated. Click on a project name or card to go to its dedicated view page.
Creating a New Project
- From the main Projects list page, click the "Create New Project" button.
- Enter a Project Name (required).
- Optionally, provide a Project Description.
- Click "Create Project".
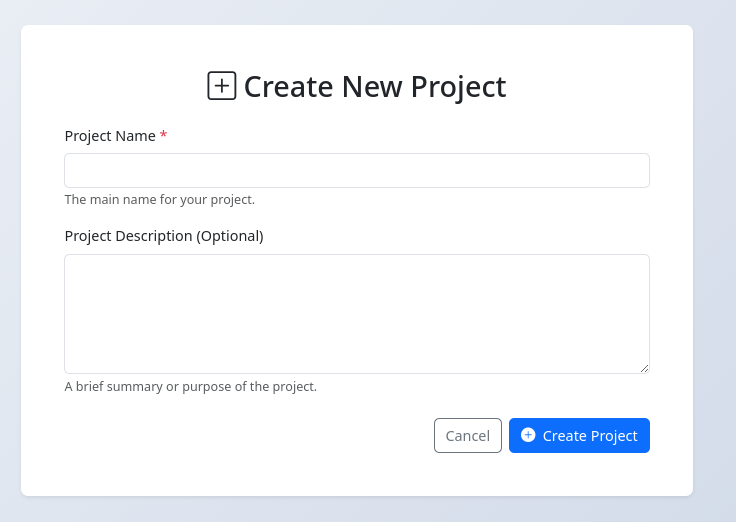
You will automatically be set as the Owner of the project and added as a member. You'll then be redirected to the new project's view page.
The Project View Page
This is the main hub for managing a specific project.
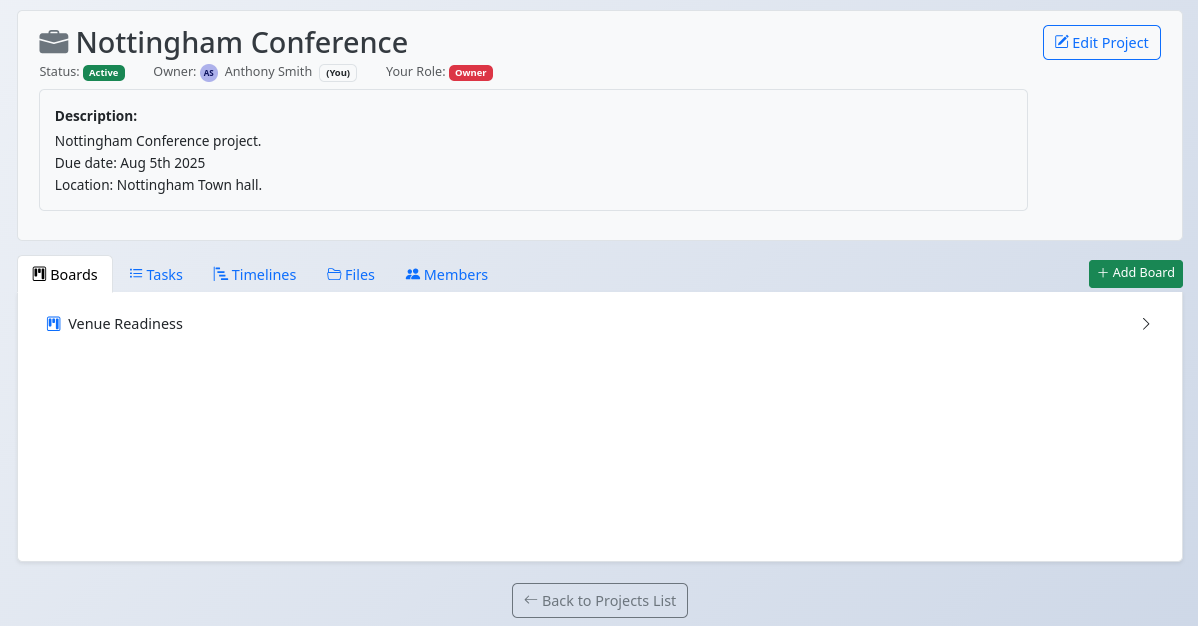
The top section displays the project name, description, status, and owner. If you have permission, an "Edit Project" button is available.
The main content is organized into tabs:
- Boards: Manage visual workflows using Kanban boards. (See Kanban Boards Documentation)
- Tasks: View and manage a list of all tasks associated with this project. (See Tasks Documentation)
- Timelines: Create and view Gantt chart timelines for project scheduling. (See Timelines Documentation)
- Files: Upload and manage files relevant to the overall project (distinct from card/task attachments).
- Members: Invite users to the project and manage their roles (Admin/Owner only).
Contextual action buttons (like "Add Board", "Add Task", "Invite Member") appear near the top right when the corresponding tab is active.
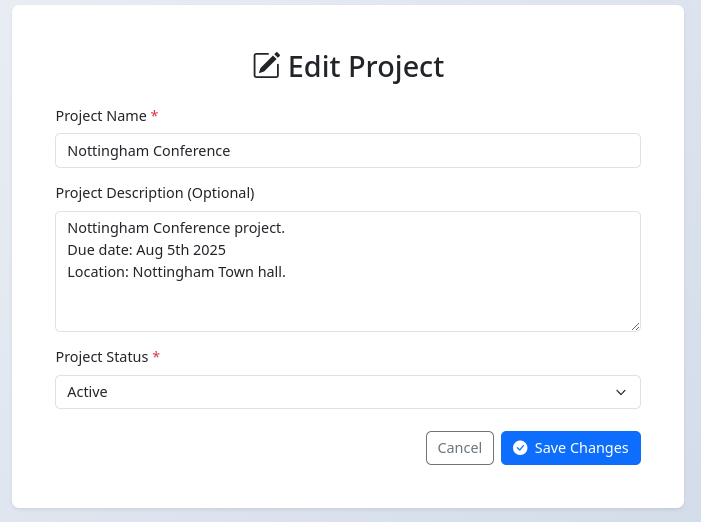
Editing Project Details
If you have Owner, Admin, or Editor permissions on a project, you can edit its basic details:
- Navigate to the project's view page.
- Click the "Edit Project" button () in the header area.
- Modify the Project Name, Description, or Status.
- Available statuses are: Active, On Hold, Completed, Archived, Template.
- Click "Save Changes".
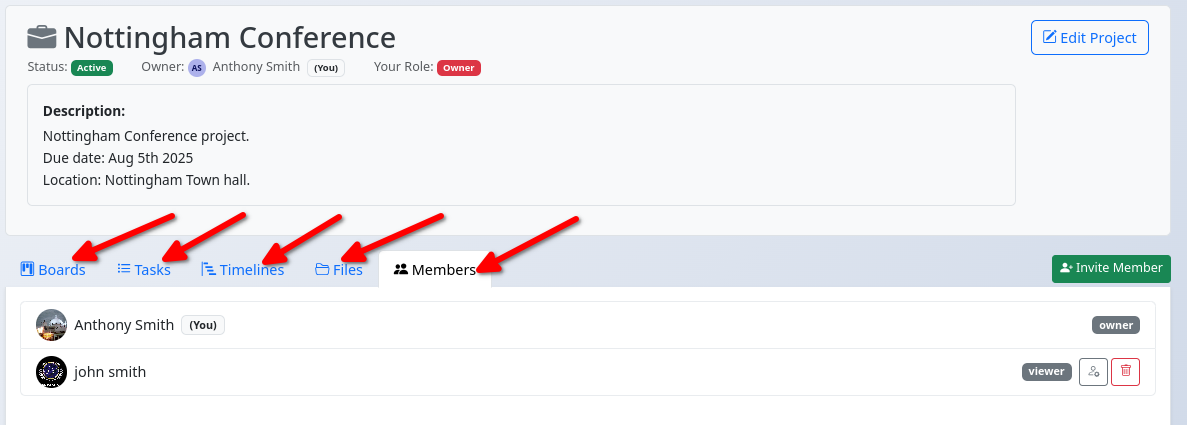
Managing Project Members
Project Owners and Admins can manage who has access to the project and their permission levels.
- Go to the project's view page and click the "Members" tab.
- Invite Members:
- Click the "Invite Member" button ().
- Search for the user by name or email.
- Select the user from the search results.
- Choose their Role (Viewer, Editor, Admin - Owner cannot be assigned).
- Click "Add Member".
- Change Roles: Click the "Change Role" () icon next to a member's name (cannot change owner or self). Select the new role and save.
- Remove Members: Click the "Remove Member" () icon next to a member's name (cannot remove owner or self). Confirm the action.
(See Admin documentation for more on User Roles if needed).
Managing Project Files
Attach files relevant to the overall project (not specific cards or tasks) in the "Files" tab.
- Go to the project's view page and click the "Files" tab.
- Click the "Upload File" () button.
- Select the file from your computer (Max 50MB).
- Click "Upload File".
- Existing files are listed with previews (if possible), uploader info, date, and size.
- Click the "Delete" () icon to remove a file (available to uploader or editors/admins/owners).