Kanban Boards
Visualize your project workflow and manage tasks using drag-and-drop Kanban boards.
Accessing Kanban Boards
- Navigate to the desired project from the main "Projects" page.
- On the "View Project" page, click the "Boards" tab.
- You will see a list of Kanban boards created for this project.
- Click on a board name to open the Kanban view.
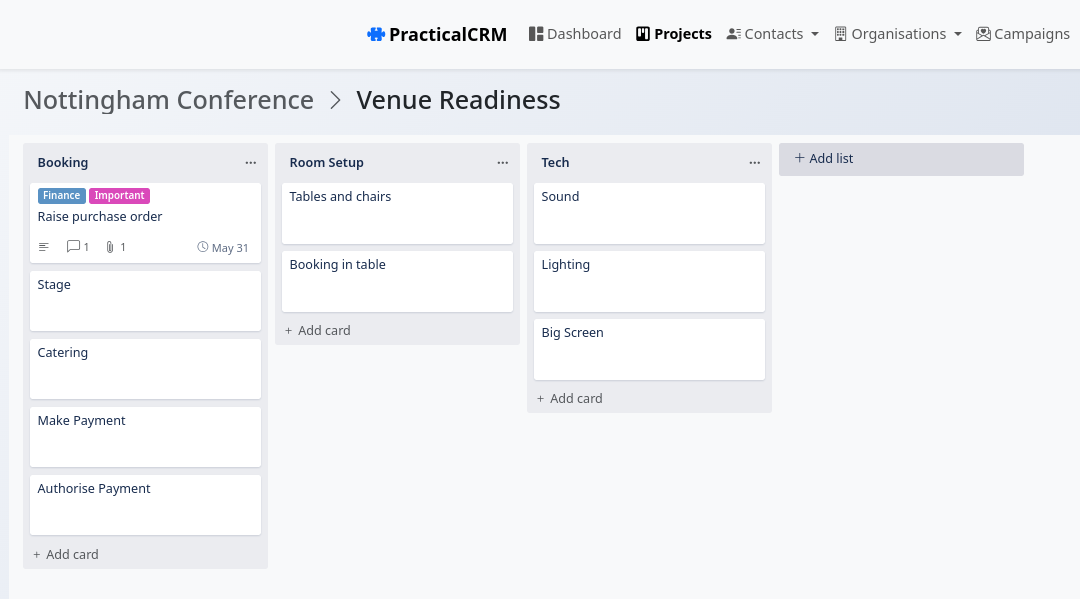
Understanding the Board
- Lists (Columns): Represent stages in your workflow (e.g., To Do, In Progress, Done).
- Cards: Represent individual tasks or work items within a list.
- Add List: A button or area usually on the far right allows users with edit permissions to add new lists (columns) to the board.
Managing Lists
(Requires Editor, Admin, or Owner role)
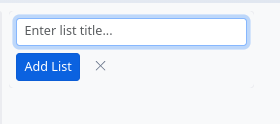
- Adding a List: Click the "Add list" button/area, enter a name for the new list/column, and click "Add List".
- Renaming a List: Click the three-dots icon () at the top of a list column and select "Rename List". Enter the new name and save.
- Deleting a List: Click the three-dots icon () and select "Delete This List". Warning: Deleting a list will also permanently delete all cards within that list. You will be asked to confirm.
- Reordering Lists: Click and drag the list header horizontally to reorder the columns on the board. The new order is saved automatically.
Managing Cards
(Adding/Moving requires Editor, Admin, or Owner role. Viewing requires any member role.)
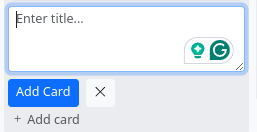
- Adding a Card: Click the "+ Add card" button at the bottom of a list. Enter a title for the card and click "Add Card".
- Moving Cards: Click and drag a card to a different position within the same list or drag it to a different list. The new position and list association are saved automatically.
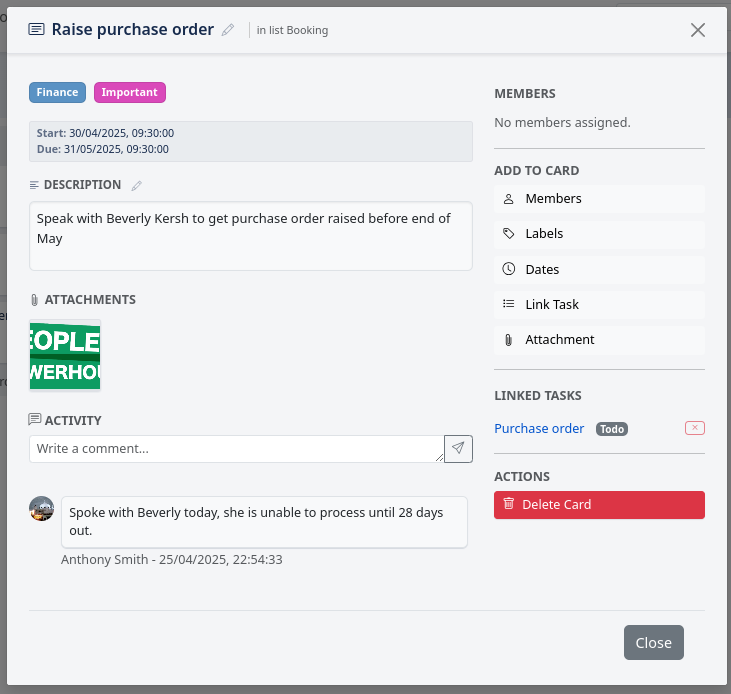
- Viewing Card Details: Click anywhere on a card (except the edit button) to open the Card Details modal.
- Editing Card Details:
- Quick Edit: Hover over a card and click the pencil icon () that appears, or click the card itself to open the modal.
- Title: In the modal, click the pencil icon next to the title to edit it inline. Press Enter to save or Esc to cancel.

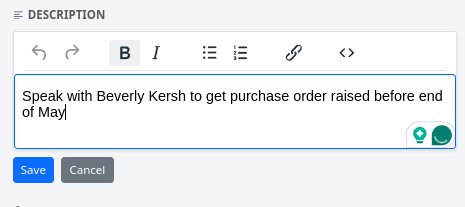
- Description: Click the pencil icon next to the "Description" label to open a rich text editor. Make changes and click "Save".
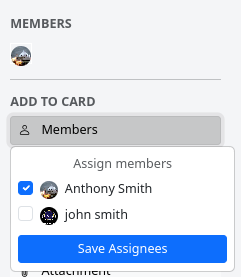
- Members (Assignees): Use the "Members" button/dropdown in the sidebar to select or deselect users assigned to the card. Click "Save Assignees".
- Labels: Use the "Labels" button/dropdown. Check/uncheck labels. You can also manage project-wide labels from here (if permission allows). Click "Save Labels".

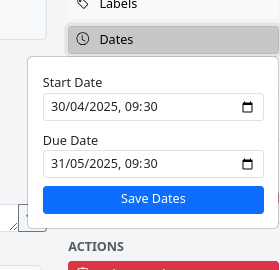
- Dates: Use the "Dates" button/dropdown to set or clear Start and Due dates/times. Click "Save Dates".
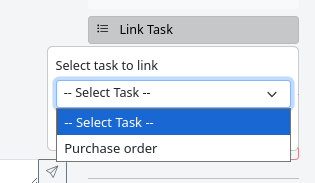
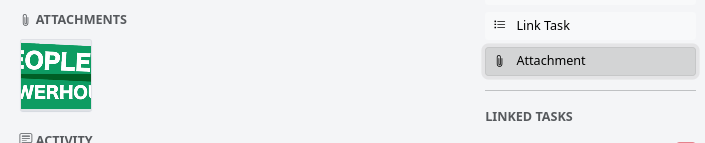
- Link Task: Use the "Link Task" button/dropdown to associate an existing project task with this card. Select a task and click "Add Link". Linked tasks appear in the sidebar, where they can be unlinked using the (x) button.
- Attachments: Click the "Attachment" button to add files. Existing attachments are displayed as thumbnails; hover over one and click the (x) to delete it (if permission allows).
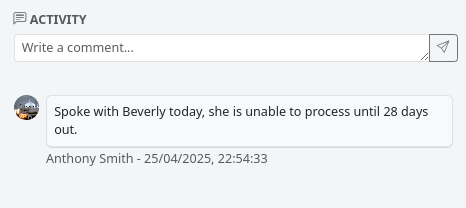
- Comments: Add comments/updates in the "Activity" section at the bottom of the main panel.
- Deleting a Card: Open the Card Details modal and use the "Delete Card" button in the sidebar actions (requires edit permission). This action is permanent.